
The MSP administrator at your church manages the access you need to accomplish the tasks in the article below. If you cannot access a feature or are having trouble, please contact your MSP administrator for further assistance.
- Sign in to your account on your church's Web Terminal
- Click on your name in the upper right corner of the Web Terminal and select "Switch to Admin View".
- Click on the Volunteers pane on the left
Note: You will only see the volunteers who are qualified for the ministries and services where you are declared a Leader. If a volunteer is missing from your list, please contact the MSP admin at your church for further assistance. - Click on the name of a volunteer to edit their profile in any of the following areas:
General and Scheduling Info

General info includes a volunteer's contact information, as well as preference on how they would like to be notified of their scheduled service and sub requests.
Scheduling info allows you to update the ministries where a volunteer is qualified to serve, their service preferences, serving frequency, and unavailability.
Note: It is not advised to update all volunteer's preferred serving frequency, as it can effect the way the auto-scheduler works. For questions, please contact the MSP admin at your church.
Custom Fields
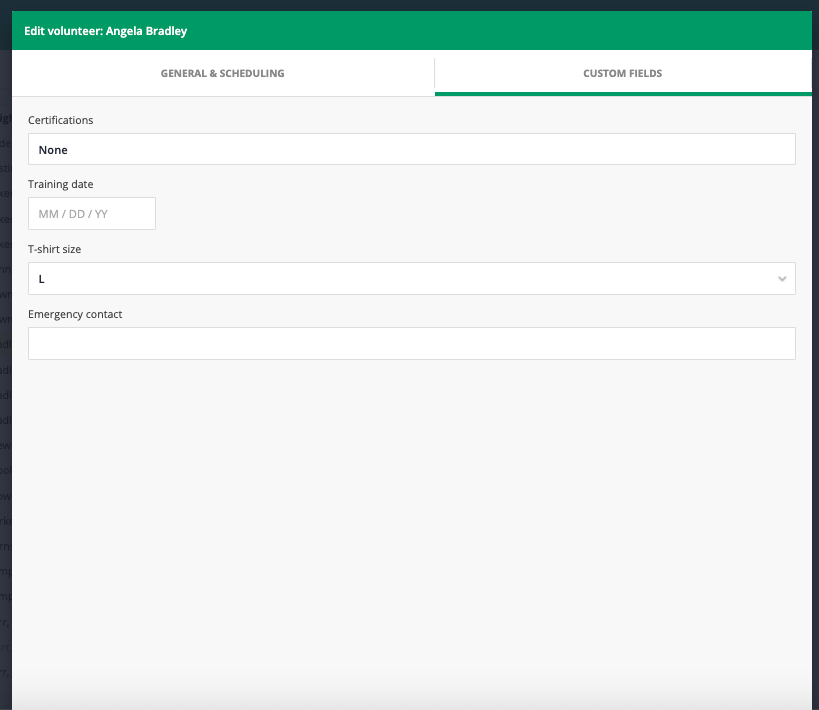
Custom fields are set up by the MSP admin at your church and are only available with the Plus edition. If there are no custom fields defined in your church, this pane will not appear.
5. Once you make a change, click the "Submit changes" button. This will send a Web Form to the MSP program which may then need to be processed before the changes take effect. If you are not seeing these changes, contact the MSP admin at your church for additional support.